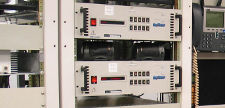
 I needed to install a transmitter into a 19″ equipment rack. Since it was heavy, and having installed heavy equipment into a rack I needed an easy way to do that. If you have ever installed something heavy in a 19 inch equipment rack, it is rather difficult. Even with two people. Sometimes three people are needed. This is what I came up with to make installing equipment into a rack a lot easier.
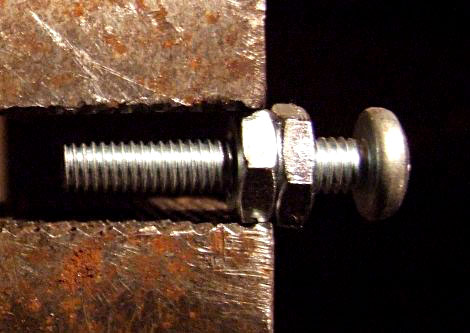
Since almost all 19” equipment racks use 10-32 screws in their side rails, get two of them and put two 10-32 nuts on the screw, and jam them together. Then clamp the whole thing in a vise.
Below is a photo of what I am talking about:

Once the screw is in the vise, take a hacksaw and cut off the head of the screw. Then cut a vertical slot with the hacksaw right where you cut off the head. The purpose of the vertical slot is so you can use a screwdriver on it. so make sure you cut the slot deep enough. You will need two of these for installing equipment into a 19 inch equipment rack.
To use them, you need to figure out which holes in the side rails you will be using for mounting your equipment in the rack. In the top most hole that you are going to use on each rail, simply screw in one these special screws.
Now its time to mount your equipment. All you do is slide your equipment’s top mounting holes on to the screws. This will properly align your holes, and all you have to do is push the bottom of your equipment up against the rack, and these two screws will hold the weight of your equipment for you. Just put in the two bottom screws first, then the rest of them into the rails of your equipment rack.
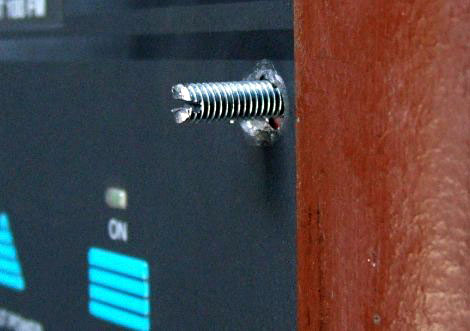
Here is a photo of one of the customized screws after the equipment is installed:

To finish the job, simply take a screwdriver and unscrew these two screws and replace them with the proper screws and you are done installing your equipment into the rack.
This article was originally posted on www.mikestechblog.com Any reproduction on any other site is prohibited and a violation of copyright laws.
Leave a Reply