Steps To Bonding A Ground Rod
1. This step is very important. Do not skip this step, or your exothermic weld will not take. Buff the ground rod, and the ends of each copper wire to be attached to the ground rod with steel wool. Sometimes if the ground rod is too corroded, its easier to take a hack saw and cut of the top inch of the ground rod.
2. Roll the mold on to the ground rod. Its important to roll it on, and not just slide it on. This keeps the rubber seal in good shape.
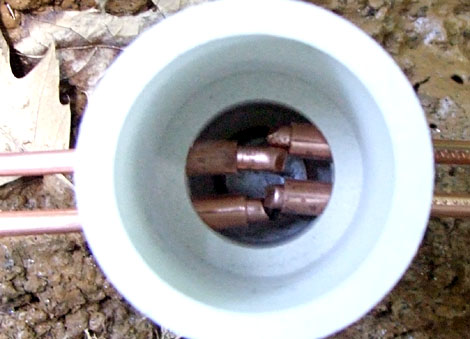
3. Place the copper grounding wire into the holes on the side of the uni-shot mold. The end of the copper wire needs to be over the center of the ground rod. The photo below is looking down from the top of the mold:

4. Press the mold down so that the ends of the copper wires are right against the top of the ground rod.
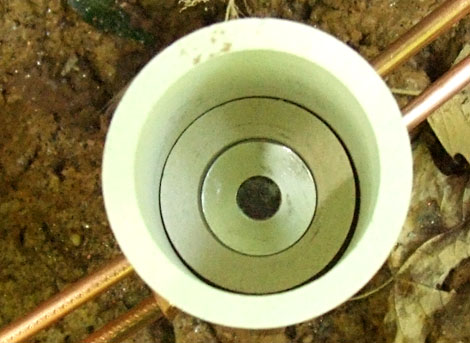
5. Place the metal disk on top of the ceramic disk. Then and gently drop them into the mold. Make sure they both are properly seated, and the conical shape of each piece is down (concave side up). The photo below shows these two disks properly seated in the mold:

Leave a Reply